Launching Expertli workspaces from Salesforce and other CRMs
Launch Expertli workspaces directly inside of your own Salesforce or any other CRMs by including a button linked to customer or account or cases you’re viewing.
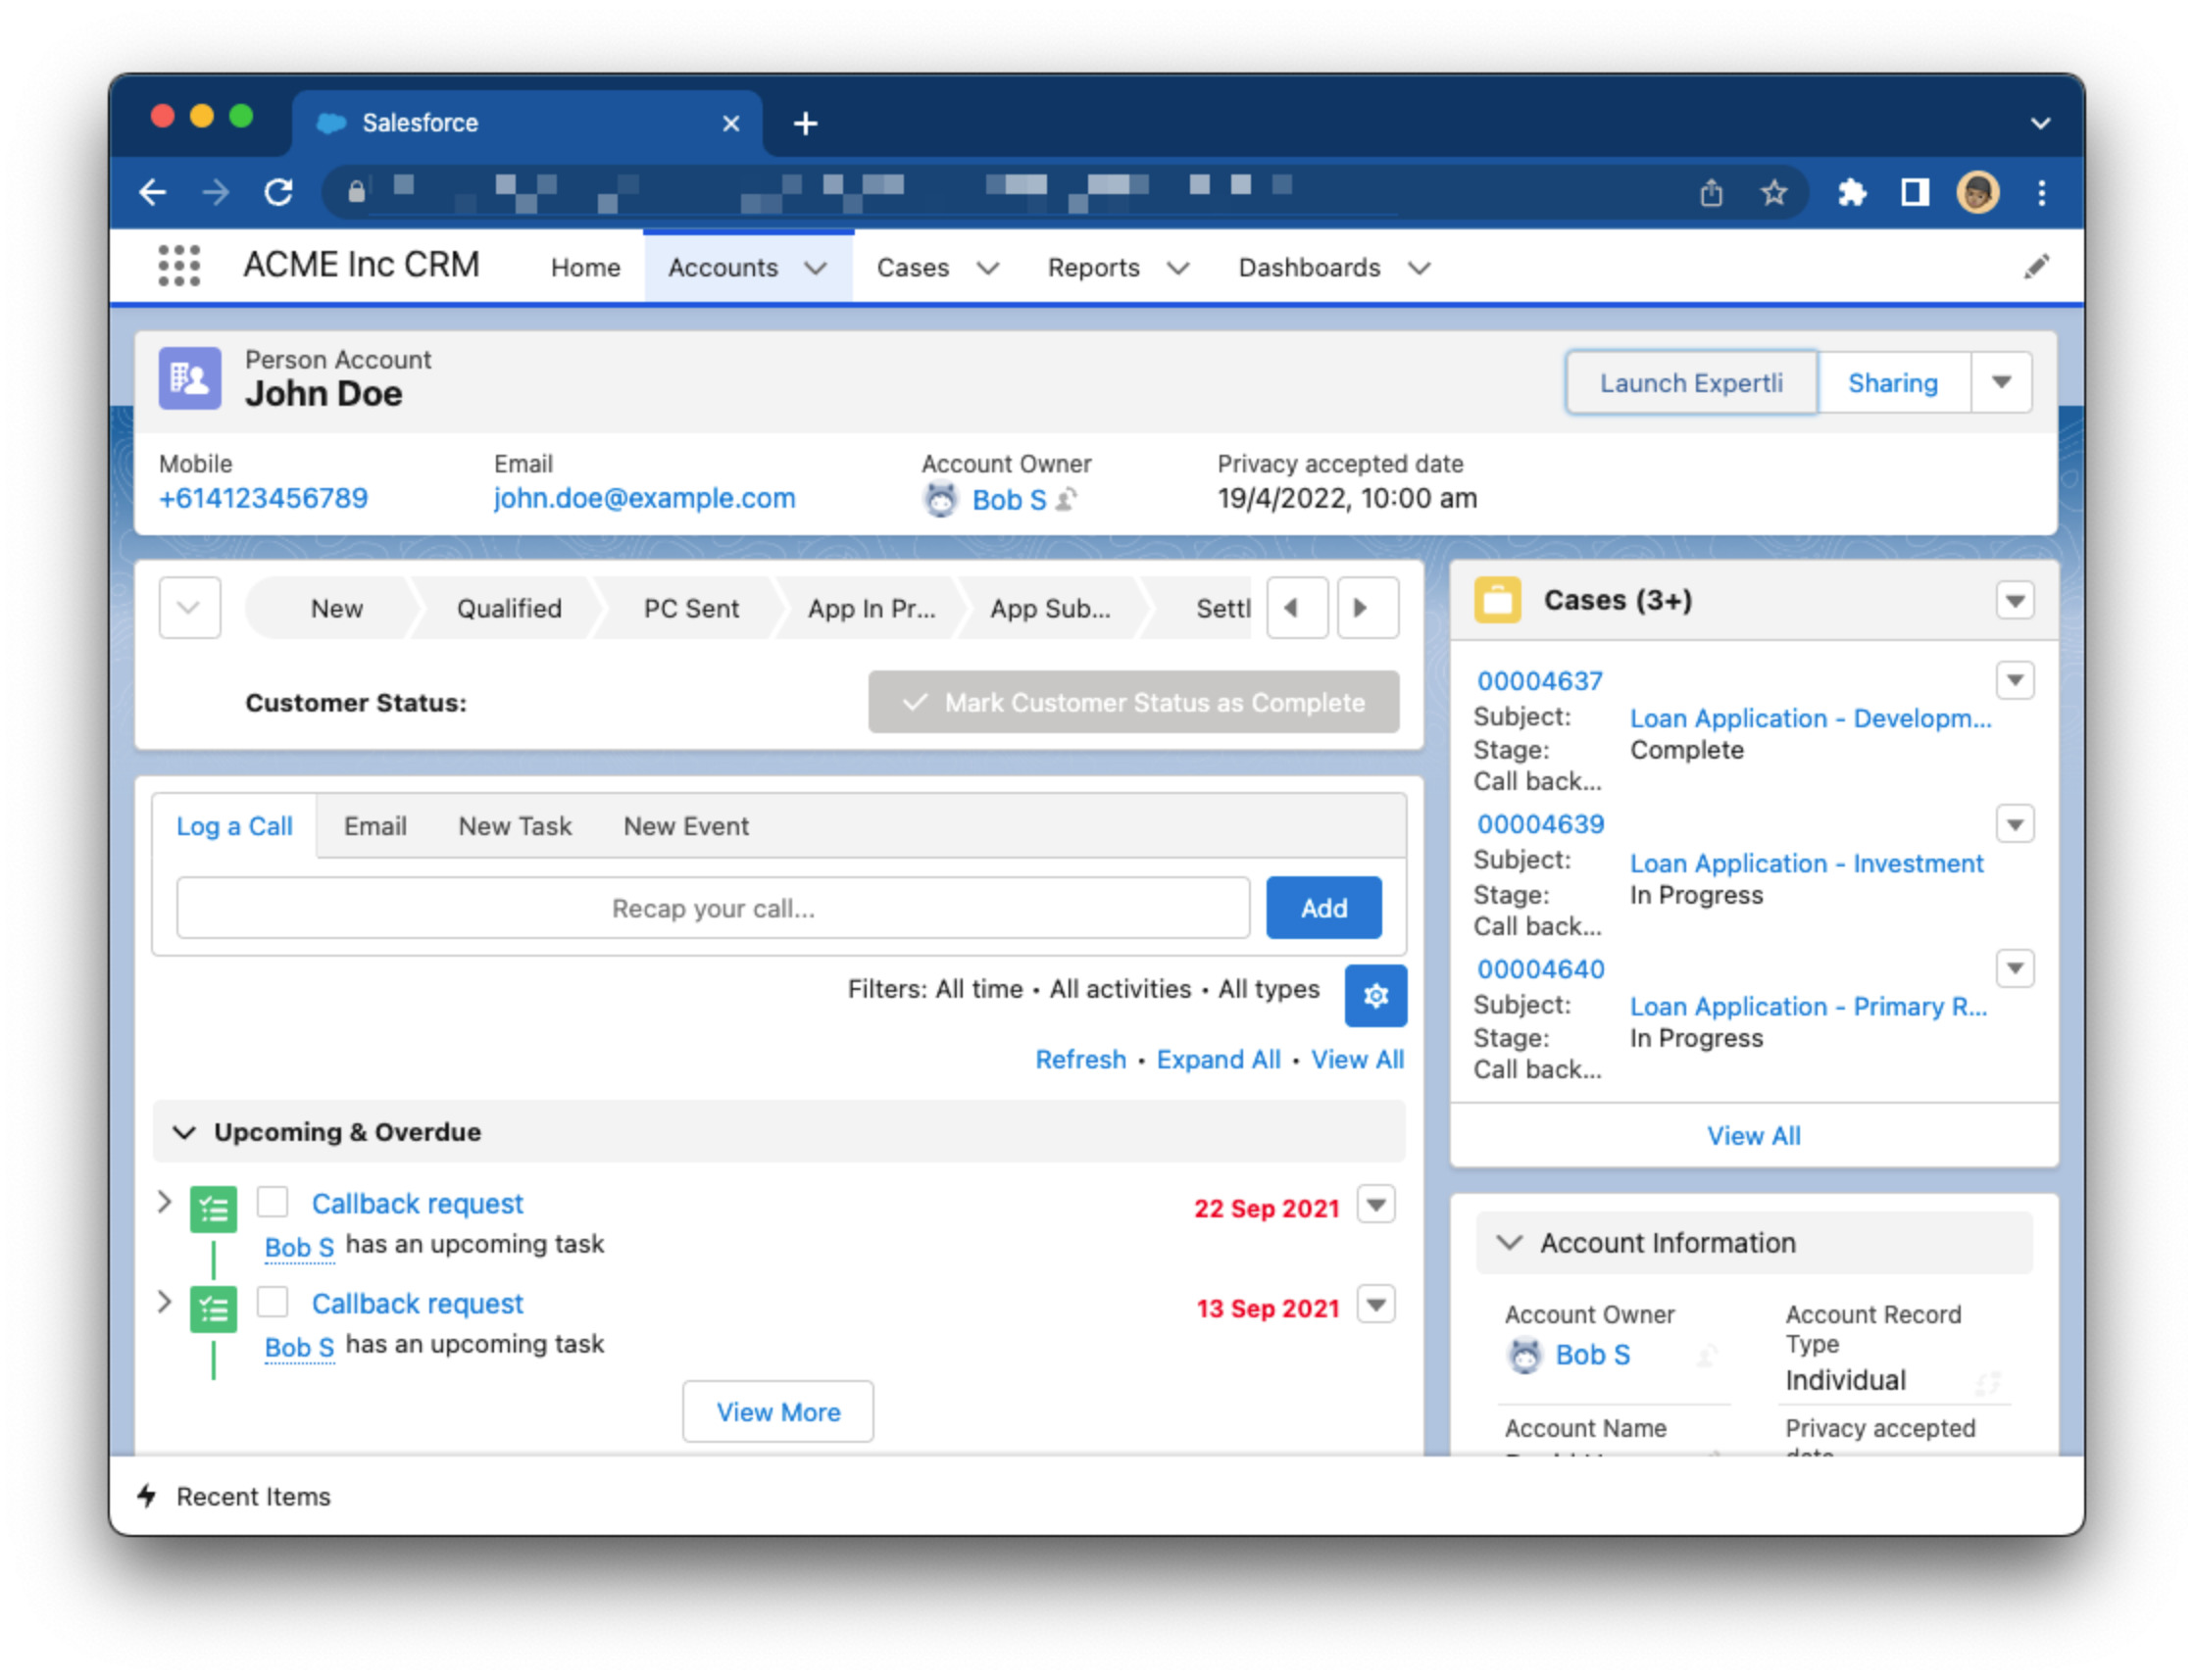
Here’s what it could look like:
This guide is split into 2 parts. A general solution that contain technical documentation on how to launch Expertli workspaces from anywhere including your CRM of choice and another section briefly detailing integrations steps on Salesforce CRM.
Guides on how to launch Expertli workspaces from other specific CRMs will be added here.
Prerequisites
- Register for Expertli - Sign-up to Expertli or talk to our own Experts and create your Expertli account
- A CRM or any platform of your choice that can uniquely identify a resource like contact, customer account or cases
Creating a "Launch Expertli" button on your CRM
Once you have completed signing up with Expertli, you could obtain the organisation key via the settings page or via customer support. Take note of the organisation key. For the purpose of this guide, we will use the organisation key: demo-org-key.
Linking back to Expertli to create a unique workspace for underlying entity is best done for entities like:
- Customer
- Support case
- Lead
- Loan application
Or anything that is uniquely identifiable but has a process or timeline attached to it. This is important as we will require that you pass on a unique ID for the underlying entity linking to Expertli workspaces.
For example, in the above screenshot the customer in has a unique ID: c_1000. This is a unique ID in
their system that always refer back to “John Doe” customer record. This way, we can now create a
Expertli workspace for “John Doe” customer.
HTML to create the button
The following HTML can be embedded anywhere so long as URL paramters are present.
Simply put this is the bare-minimum required to link to Expertli:
<!-- Example of a simple link -->
<a href="https://app.expertli.com/demo-org-key/workspaces?externalId=customer-abcd"
  >Launch Expertli</a
>
When an expert clicks on the link, they will be redirected to Expertli.
We can also add extra metadata to the Expertli workspace, like name of the workspace and customers to invite into the workspace. And this approach uses a slightly different but safer mechanics as-to protect leaking of personally identifiable information (PII):
<!-- Example of a FORM POST -->
<form action="https://app.expertli.com/demo-org-key/workspaces" method="post">
  <input type="hidden" name="externalId" value="customer-abcd" />
  <input type="hidden" name="name" value="John Doe" />
  <input type="hidden" name="invitees[]" value="john.doe@example.com" />
  <input type="hidden" name="invitees[]" value="jane.doe@example.com" />

  <button type="submit">Launch Expertli</button>
</form>
Full list of supported parameters
Below is a full list of parameters that we support. You must use the form element if you wish to pass
list of customer email addresses to invite into Expertli workspace.
| Parameter | Description |
|---|---|
organisationId | Part of the URL path This is the unique organisation key for your Expertli organisation String, required |
externalId | Query string or form field This is the unique ID for the underlying entity that you want to link to Expertli workspace String, required |
name | Query string or form field Name of the Expertli workspace String, required |
invitees | Form field List of emails (customer emails) to invite into the Expertli workspace string[], optional |
Creating a button in Salesforce
Prerequisites
- Signed up to Expertli and have obtained unique organisation key
- Must have editable or admin roles in Salesforce to layout changes
Creating a reusable Salesforce button
- Log-in to Salesforce
- In the top-right cog menu, enter “Setup”
- Navigate to “Object manager” from the top navigation panel
- Select “Account” object (could be Contact, Case or any other object that has a Page layout) from the left navigation panel
- Select “Buttons, links and actions” from the left navigation panel
- Click on “New Button or Link” on the top right
- Set Label field to: “Launch Expertli”
- Set Behaviour field to: “Display in new Window”
- Set Content-Source field to: “URL”
- Enter the following URL into the large text area at the bottom of the page:
https://app.expertli.com/demo-org-key/workspaces?externalId={!Account.Id}&externalSource=salesforce.account&name={!Account.Name}`
Replacing demo-org-key with your own Expertli organisation key
- Click “Save”
- Voila! You now have created a Salesforce button that can be added to a layout!
Adding the button to object's page layout
- Navigate to “Object manager”
- Select “Account” object (or same object as where the button was created above)
- Select “Page layouts” from the left navigation panel
- Click on the layout you wish to add the button to on the right panel
- Select “Mobile & Lightning Actions” in the top tools section
- Find the button that reads “Launch Expertli” and drag it to “Expertli actions” section
- Click “Save”
- And you are done!
You should now be able to visit the relevant page, and see “Launch Expertli” button in the toolbar section of the page. Give it a good click and test it out!